The Choppernaut Tool is designed to provide basic flat die scrap knives or “choppers” to a die design. Add choppers before you run any notching routines to include the choppers in the notching group automatically. You can return to the Choppernaut and add choppers at any time, but if you have already run notching routines, you will need to run them again manually on the B/K layer. See “Flat Die Notching” for details on how to rerun notching routines on selected sets of geometry. Once you have chosen and entered a Die Board template, choose Flat Dies → Choppernaut to create choppers.
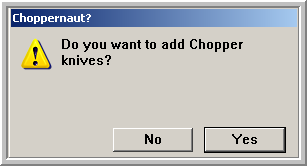
Click “Yes” to add choppers to the design, click “No” to cancel making choppers.
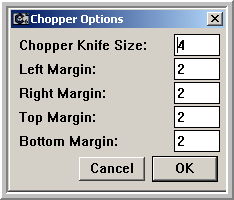
The Chopper Options dialog will appear and offer the opportunity to change the chopper knife size – the size of the square choppers that will be made, and the margins to chop up on each side. Click OK to accept the values you have entered. The values that appear first in the “Chopper Options” dialog can be set in the Prefs.fe file.
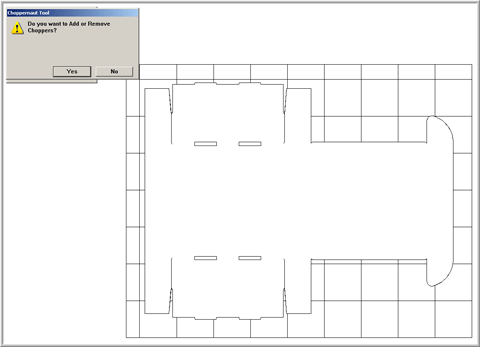
If you are satisfied with the Chopper knives that the system generates for you, click “No” to accept the choppers and move on to jigs. If you want to add or delete choppers, click “Yes”.
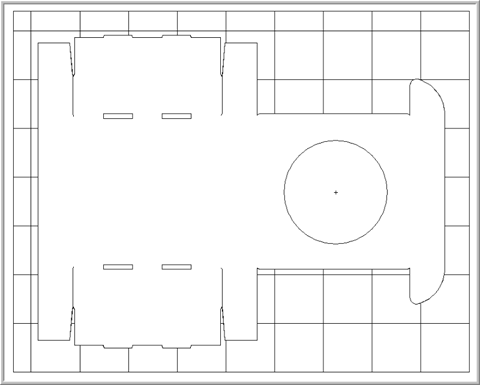
The cursor will look like a hatchet. Wherever you click, the tool will fill the area with chopper knives. Areas you try to fill must be fully closed areas for the Choppernaut to work properly. If you get an error trying to run the Choppernaut, do an undo or three until you are backed out of the operation and run the Gap Detector to see if there are gaps or openings in the area you are trying to chop. Click inside large open areas that you want to fill with choppers.
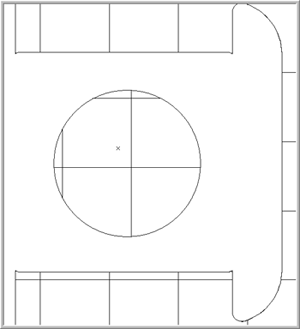
Hold the Shift key down and click on unwanted chopper knives to discard them.
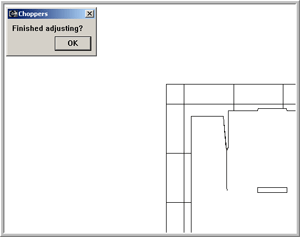
Once you are satisfied with the choppers you have created, click “OK” in the “Finished Adjusting?” dialog to clean up and return to the die design. You can further adjust choppers at this point. Add or remove choppers and breaker knives using the Die Tools → Breaker Knife tools.